Teaching your child to write may appear daunting, but there are many things you can do to encourage your child to become interested in writing.
The most important part is to get them to start to really enjoy writing.
Enjoyment really is the key word for young children.
I have taught children between the ages of about 3 to 6 for the best part of 25 years now, and I have noticed one thing again and again…
The first thing to remember is that if a child starts to feel even a whiff of pressure, they are likely to be turned off writing, and it can very quickly become a battleground.
Many children are reluctant to write because they have been put off the process at an early stage, so the key to your child becoming a successful writer is making it fun, fun, and even more fun.
Here is my guide to getting your child ready to write successfully. Remember, you are your child’s most important role model, and so they will need to see you enjoying and modeling writing too. You are the key person who will have the most influence over your child’s attitude to reading and writing.
Here are the 12 steps. Please note – even though I have tried to put these in order, lots of these steps will be happening simultaneously. The road to writing has many paths that join it.
Step 1 – Notice Print In The Environment
This is the first step to getting your child to become a writer, and it can start from a very early age. When you are out together, try to make an effort to notice print all around you. As you walk or drive in the car, talk about signs, symbols, billboards, and anything you can spot with letters or numbers on it.
The big yellow M sign for Mcdonalds’ is often recognizable to children from a very early age. This is the beginning of understanding that letters and symbols carry meaning, which is a very important step in the writing process.
Children will start to understand that print carries a meaning long before they learn to read and write. Talking about print all around you will help your child understand that writing has a purpose in our day-to-day lives, which will motivate them to want to write.
A few common signs you can point out when you are out and about are:
- The big yellow M for McDonalds
- The lettering on your local supermarket, e.g., TESCO or ASDA
- The street signs where you live, e.g., Crown street or Cherry Hill Avenue.
- The name of your local school
- Open and Closed signs on shop doors
You can continue this at home too:
- Read out the ingredients on a packet of food.
- Look at letters or junk mail.
- At bath time, read the labels on the shampoo or the conditioner.
- Read out the TV guide from the TV screen.
- Read aloud text messages on your phone.
Try to do this in as natural a way as possible. Just talk about it in a passing conversation. Don’t force your child to learn the letters or say the sounds. At this stage, you are just drawing your child’s attention to print in their world, which is enough.
Step 2 – Model Writing Yourself
It would be quite usual today if your child has never actually seen anyone write anything.
Most forms are completed online, and most people use their phones to write emails or texts, so picking up a pen and paper is less common than it used to be. Many young children have actually never seen an adult write anything before they start school.
You can give your child a big head start here by modeling the writing process in your day-to-day life so that your child can actually see how writing works. You don’t need to do any more than let your child see you with a pen and paper in your hand for them to understand that you are writing for a purpose.
Here are a few ways you can do this:
- Write a shopping list before you do the weekly shopping.
- Write out a recipe before you cook a meal.
- Write a list of things you need to take on holiday
- Write down directions to somewhere you are going to visit.
- Write a note to someone
- Write a to-do list of jobs
- Draw a picture for your child and pin it up
Whatever it is, simply let your child see you writing instead of typing or texting. But remember, don’t make a big deal of it or attach any pressure to it. Just make writing as natural a part of life as you can.
3. Make Marks Everywhere
If you follow steps one and two, your child will gradually start to understand that the marks and writing you are making and the print they are seeing all around them carry a meaning. The next step is to introduce your child to mark-making. Children start to make marks very early on in their development.
Even as a baby, they will start to make marks. You may have noticed how they use their fingers to draw with their food on their high chair tray. This often happens around the time children start to feed themselves. They will push their yogurt or their spaghetti sauce in circles and make tracks in their food.
It’s very messy – but it is actually the beginning of the writing process. Your child is beginning to understand that they can make different marks.
Encourage your child to make marks in as many different ways as you can. The more experience they have in making marks in different ways, the better.
Here are a few ideas to get you started:
- Draw with your finger in condensation on a window.
- Draw with sticks in mud or with your fingers in wet sand.
- Use a blob of shaving foam and make marks against the side of the bath or on a table.
- Splash and splatter with paint on paper (outside is a good idea here!)
- Use branches, leaves, and twigs as paintbrushes to make marks
- Make marks in play dough with tools like a spoon, chopsticks, or toy wheels
- Roll toy cars in paint and make tracks on paper
- Use chalk to make marks outdoors on walls
- Use buckets of water and paintbrushes to “paint” the walls outside
- Make pastry and use tools to make marks on it
There are endless ways to make marks. Have fun, and don’t be tempted to start teaching your child to write letters or numbers yet. At this stage, you simply want them to have fun and understand that they can make marks.
Often, during this stage, children will scribble on walls or furniture because they are experimenting with making marks in all its different forms. It is important that they do understand that there are boundaries, so gently remove the crayons or pens and show them how to write on paper, not walls.
If you don’t have any paper to hand, you can collect old junk mail and envelopes from scribbling on.
4. Draw Together
Drawing comes before writing and is an important step. Keep an eye on your child’s mark-making, and you may start to notice that, gradually, they will move from making random marks to making more distinct lines, swirls and shapes. This is another big step forward in the writing process.
At this stage, it’s a good idea to model some drawings with your child and play drawing games with them. Start to draw a simple picture for them.
Tell your child that you will draw a picture of them and start with two simple circles. As you draw their eyes, nose, and mouth, tell them what you are doing, and add arms and legs.
Don’t put any pressure on your child to draw themselves. Just let them see your drawing. If they ask you to add other details, like hair, show them how to draw hair. Keep going with this, modeling lots of simple pictures for your child.
You can draw things like:
- A house
- A car
- Family members
- A spider
- A dog / cat
- A flower
- The sun
I like to use black biros and white paper when children are at this stage. Young children seem to really like the clear, precise pictures that black fine-line pens make.
Your child may want to have a go themselves, or you can invite them to add to your drawings by saying things like, “can you add more legs on the spider?” Don’t force it if they don’t show an interest. This should be a fun stage. Praise all your child’s attempts at making marks, so they feel successful.
If you are interested in the early stages of writing development and want to know more, try the following:
https://www.naeyc.org/resources/pubs/yc/nov2017/emergent-writing
5. Slowly Introduce Writing Patterns
Gradually, you will notice your child’s attempts at drawing starting to change. This is a slow process and can take a long time for some children, so there is no need to panic if you don’t immediately start to see clear pictures and letters emerging. This is sometimes known as the emerging writing stage. Random marks and dots will gradually turn into scribbles, and the scribbles will gradually change into marks like straight lines, curves, and spirals. If this happens, it’s a really encouraging sign, and your child is on track to be a writer. If it isn’t – don’t worry; you just need to keep repeating the steps above and providing lots of opportunities to draw and make marks.
When your child is ready, you can show them some writing patterns. The aim here is to help your child gain a little bit more control over their mark-making, but beware! This can often be the stage where too much pressure can turn children against writing.
Keep it lots of fun and write together in lots of fun ways. You can model writing patterns such as:
- Curls
- Waves
- Zigzags
- Straight lines
- Wavy lines
- Dashes
- Dots
This can be done in as many ways as possible. For example, draw in chalk on the wall and ask your child to copy, paint zigzags or waves and ask your child to go over yours, make wavy lines, dashes and dots in shaving foam. Keep it interesting and fun and praise all attempts, but when your child is not interested or has had enough, let them go and never force them to make marks with you.
6. Read Together
It’s often said that the best writers are readers, and that is so true. Read to your child as often as possible. You can start this as early as the day they are born. Don’t be tempted to substitute a real book for an electronic store.
Remember that you are your child’s most important role model, so if they see you reading a book, they will know that reading book is important to you, and it will automatically become important to them. When you are reading together, you can mention things like the book’s title, big, exciting letters, or speech bubbles in a story.
Point to the writing as you read aloud, but be very careful not to “teach” reading. The most important thing to do here is to show your child how great a wonderful story can be. They will gradually begin to understand that both the print and the pictures in the story are important.
You can just “happen to notice them” as you are having a lovely time together.
7. Write For A Real Purpose
As mentioned earlier, children have fewer opportunities to see the actual writing process happening in their day-to-day lives now that there is so much technology around. Technology is great, and children also need to see how phones, laptops, and tablets work as they will be using them in the world, but they also need to see that we need to be able to write for a real purpose.
Once your child is at the emerging stage of writing (starting to scribble and make some distinctive shapes and marks), you can encourage them to write with you. The more purposeful the activity is, the better motivated your child will be.
Here are a few ideas to get started:
- Write notes for each other and hide them – play a game to find them and read them out.
- Write a letter/postcard to a family member
- Write a shopping list together
- Write a list for Santa Claus
- Draw a simple treasure map to find some treasure in a hiding place
- Make a card for someone you love
You can also start to model typing on a keyboard at this stage so that your child can see you touching letters and numbers to communicate meaning, but try to keep the focus on writing with a real pen or pencil as well.
8. Writing Materials
Having writing materials to hand is important at this stage to keep the encouragement and momentum going.
Have a writing box filled with pens, pencils, crayons, felts, markers, and a small pair of scissors. Pound shops are a great way to pick up writing materials and paper at a good price. You can also recycle any old birthday cards, old envelopes, and scraps of recycled cardboard too.
Praise your child for all their attempts at writing (even if it doesn’t look anything like writing yet). The fact that your child is choosing to write and is beginning to hold a writing implement is brilliant.
Most children will use a fist grip when they start to write. Please don’t worry if they do – this is very normal. Praise their attempts, tell them they are a wonderful writer and keep adding to the writing box. It’s a good idea to write your child’s name on their pictures. That way, they can see you modeling writing, and they will begin to understand and gradually recognize what their own name looks like.
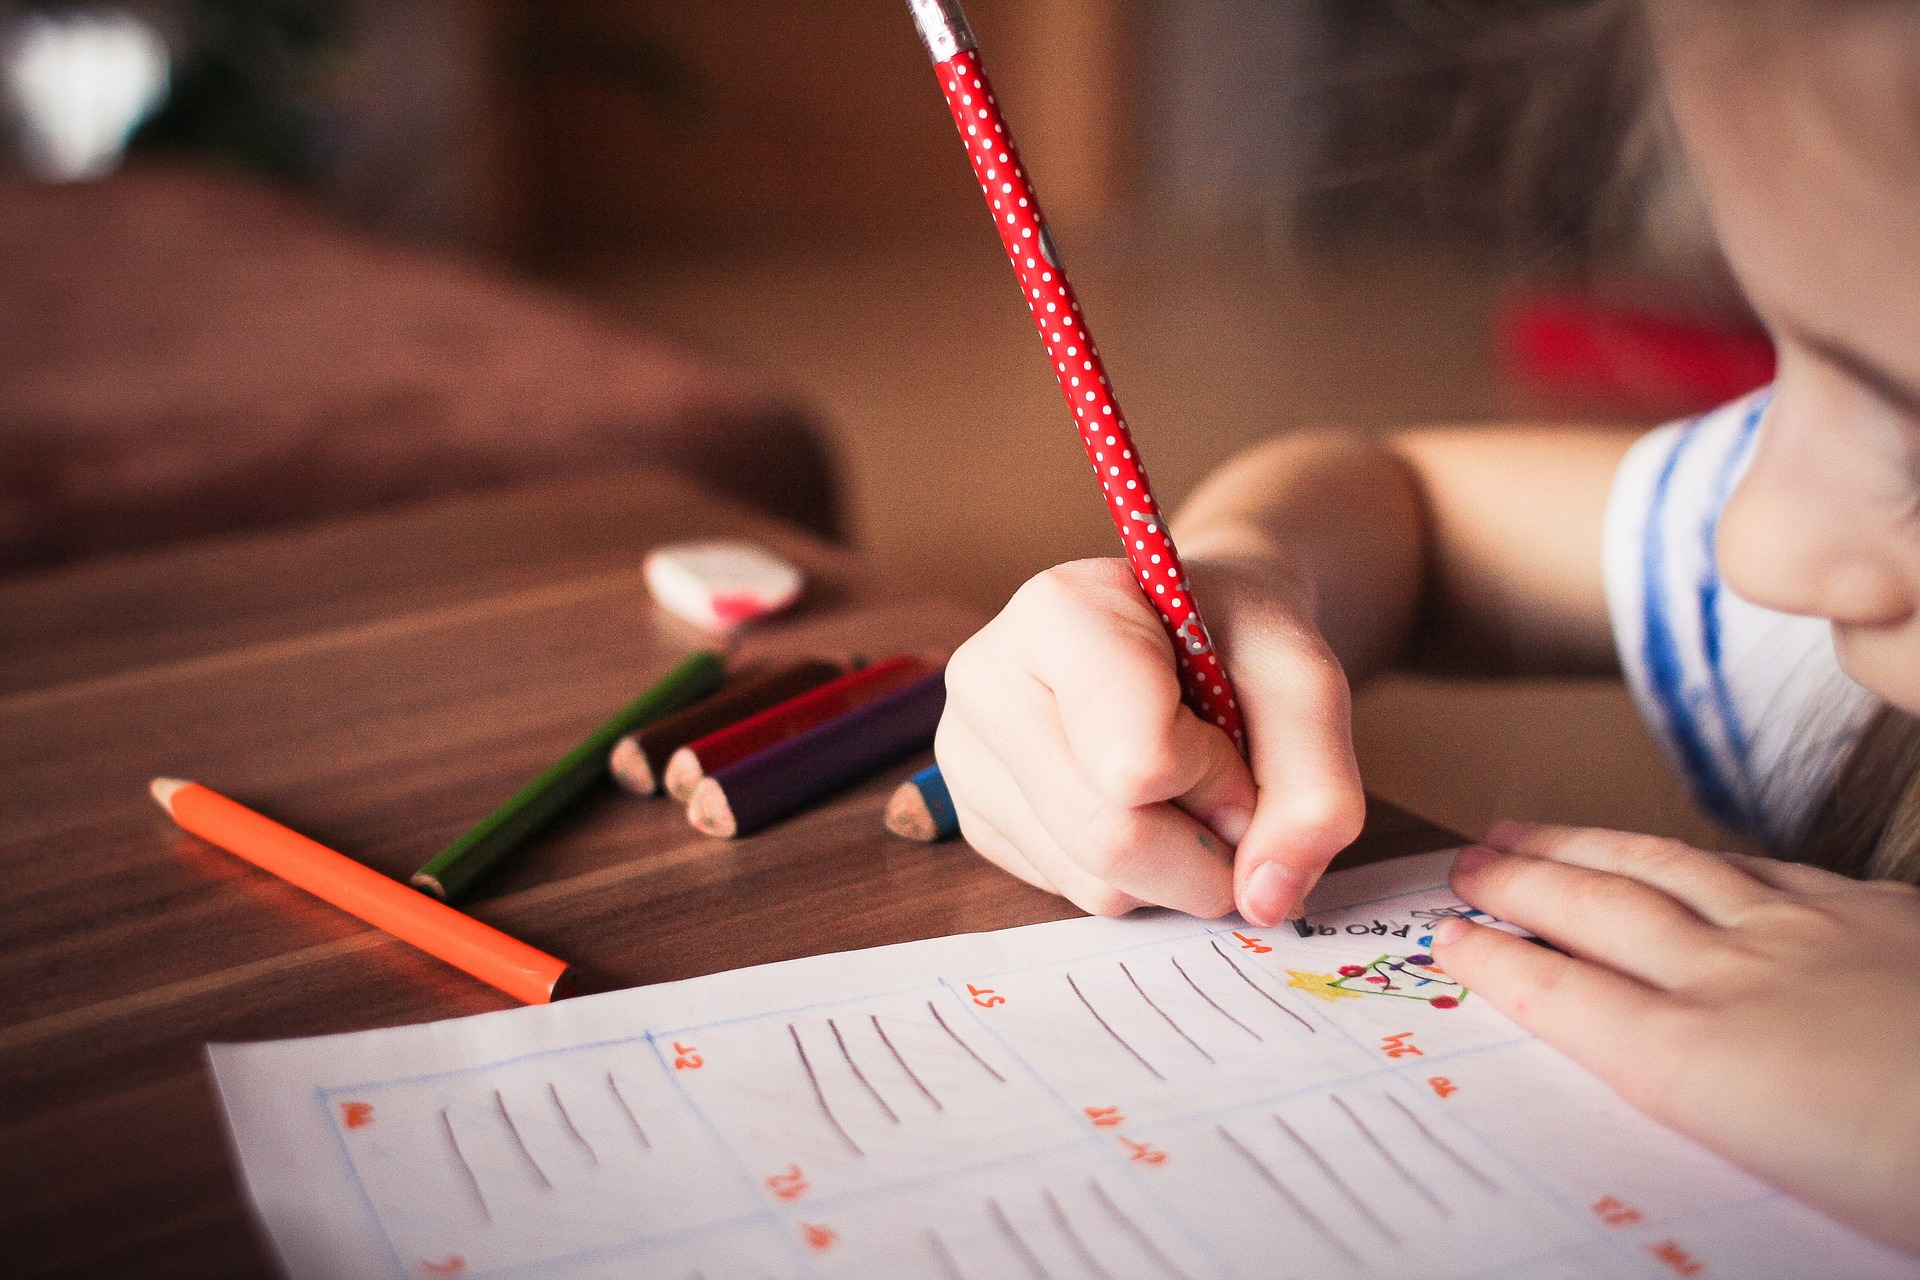
9. Play Games With Writing
When your child makes more defined shapes, you can start having some fun with writing.
Try these suggestions for games that will encourage your child to write for a purpose without even realizing it:
- Play noughts and crosses together, either on paper or outside, using chalk.
- Make a tally of how many birds you can see in the garden by drawing a line on paper for every one you spot. Count up all the lines.
- Go on a mini-beast hunt and draw simple pictures of what you find.
- Take your pencil for a walk and ask your child to copy your pencil. Then swap, and you copy their writing tracks.
- Have a teddy bear’s picnic and “write” name cards for all the toys.
- Use post-it notes with pictures of forfeits on, like 10-star jumps, sing a song, and touch your toes. See how many you can do in 1 minute.
10. Receive A Letter
Receiving a letter is a brilliant way for your child to understand that writing carries meaning. Write a simple letter to your child, address it to them, and post it. When the letter arrives, you can show them their name on the top of the envelope. Let them open it and see the writing inside.
You could draw a picture, too, if you wanted to. Read it out to them and encourage them to “write” a letter back. It may be old-fashioned, but there is something really special about receiving a letter addressed to you. If you have a family member that you could write to and receive a reply – even better!
11. Write Together
By this stage, your child should be enjoying reading with you, mark-making together, and having plenty of fun. You may have noticed some letter shapes or numbers starting to emerge. Children often start writing by copying the initials of their first names.
Encourage them to do this if you think they are ready, but always remember not to force it. They will do it when they are ready. You can support them by writing their name in large letters for them to copy-write over the top. If you want to support your child to start writing letters at home, use small case letters apart from the initial of their name.
12. Praise All Attempts
When your child starts to have a go at writing themselves, it may well look like hieroglyphics, but that is perfectly ok. The fact that they choose to have a go is the best sign in the world. Give them lots of praise and display the writing to show them that you value all their attempts. Pin it up on the fridge or noticeboard and tell them how proud you are of them.
Children go through lots of different stages before they start to write letter shapes and numbers.
Their writing will gradually emerge when they are ready. We need to provide the tools for mark-making and writing, we need to give them the enthusiasm and real-life purpose for writing, and they will do the rest themselves.
Have fun!
There is further information available on the Government website :
https://help-for-early-years-providers.education.gov.uk/literacy/writing