Transient Art – Definition – Examples – Activities
Transient art is brilliant! It develops so many skills: creativity, problem-solving, exploration, sharing, mathematical skills such as pattern and symmetry, awareness of shape, positioning and color, language skills imagination. It develops concentration and attention, helps to develop fine motor skills, and increases children’s knowledge and understanding of the world around them and that is just for starters.
If you’ve never come across transient are before – no need to worry. Read on to find out more.
What is transient art?
Transient art pretty much does what it says… It is art that lasts for only a short time. So, transient art means pictures and creations that are made from loose parts and are only temporary. Once the children have finished making their creations, the parts can be reassembled into something different.
To jumpstart transient art abilities, start our Project Loose Parts course right away!
It’s also incredibly accessible and inexpensive to get started so what are you waiting for?
How to Get Started with Transient Art
The key to good quality transient art is in the resources you provide for the children. It’s also important to say that taking part in a transient art activity should be more about what the children learn during the process than what they produce at the end, as transient art should be open-ended.
Having said that, when I’ve provided transient art activities, the children have produced some of the most beautiful and creative pictures I’ve ever seen and it is so easy to capture them with a quick photograph.
We have published many high quality articles on loose parts play! But others have put out some great guides as well like this guide to loose parts play for more ideas.
A Quick Start Guide to Resources for Transient Art
Start with natural resources – they are free and you can even get the children to help you collect them: Try wherever possible to find resources that look interesting or unusual.
Try to consider as you seek our materials, what effect it will have on the children’s senses Ask yourself:
- Do they have a smell?
- What is the texture like?
- How will they feel in little hands?
- Are they attractive?
- Are they unattractive but interesting or intriguing?
- Do they make a noise when you tap or touch them?
- Are they heavy or light?
- Are they hollow or dense?
- Have you provided enough materials so that patterns can be repeated?
What should I start to collect?

- Leaves – as many different sizes, textures, colors and shapes as you can find.
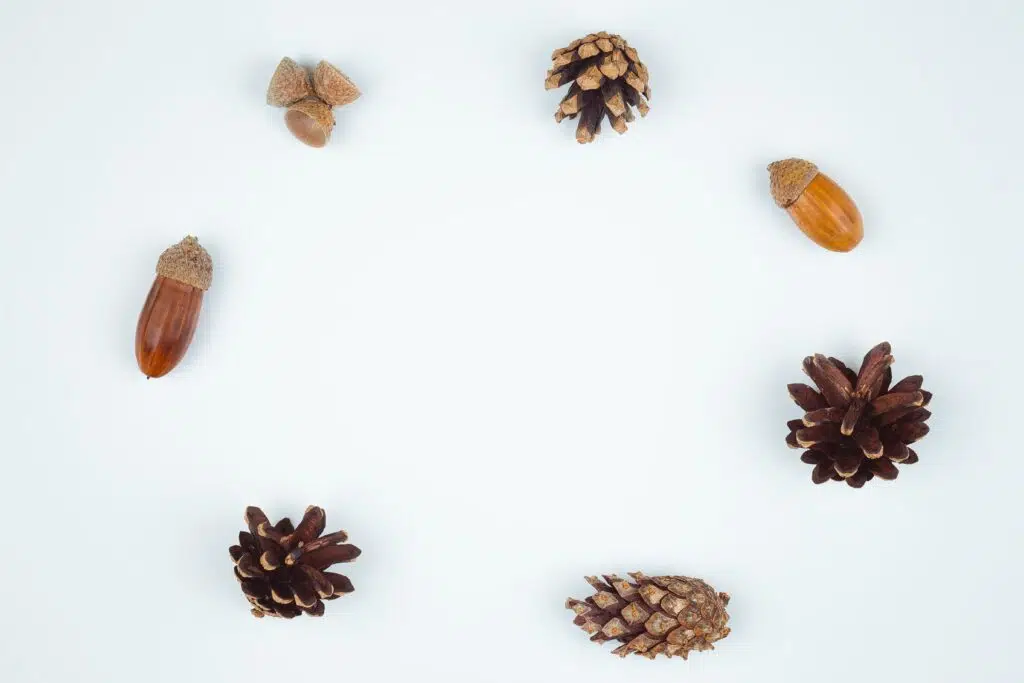
- Pine cones – different sizes if possible.
- Acorns – as many as possible
- Seed pods / pumpkin seeds / dried fruits
- Flowers – cut / shop bought or weeds like dandelions / buttercups are great
- (Always be careful not to pick protected wild flowers).
- Sticks / twigs
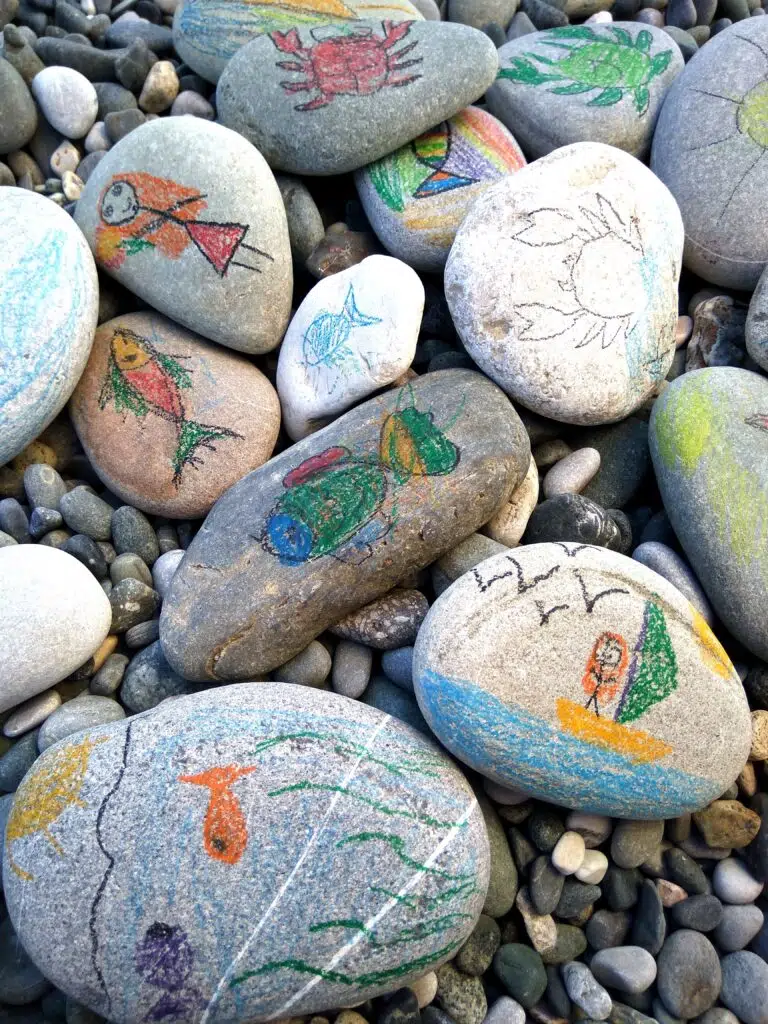
- Pebbles
- Shells
- Feathers
- Seaweed.
- Anything else of natural interest you may come across.
- Fruits e.g. slices of dried apple / or dried orange.
Wooden resources:
- Wooden spoons
- Curtain rings
- Dolly pegs
- Lolly sticks
Materials:
- Strips of fabric such as velvet / satin / cotton
- Wool
- Mirrors
- Recycled bottle tops
- Paper
There really is no definitive right or wrong resource. Most people can find collections of interesting objects in their home or garden and as long as you risk assessing them as being safe and beneficial to the children’s learning, go ahead and use them. I like to use baking trays or muffin trays to store smaller resources – they are ideal for little fingers and prevent the resources from getting jumbled up.
Transient Art Inspiration
Andy Goldsworthy is probably the most famous transient artist working today and his work is a really good place to start for some inspiration. Show the children some of his beautiful photographs of colors and patterns in nature. His pictures are stunning but also very accessible. You can easily find some of his work on google images. Georgia O’Keefe is another good place to look for inspiration. However, it won’t be long before the children will be inspiring one another!
How do I keep a record of the child’s creation if it is transient?
This is a question that often gets asked. Transient art can’t always be displayed in the way traditional paintings, crafts, and model-making can for obvious reasons, but there are ways of keeping it contained and making a record of it. The simplest way to do it is to take a photograph, but if you are working with a lot of children at the same time, make sure you have a system to remember which photograph belongs to each child.
Another way is to record the children’s art, followed by them explaining what they have been working on. I’ve found that taking photographs during the creating process can often be more interesting than a photograph of the final piece.
Using Frames with Transient Art
Frames can really focus the children to work in a particular way as it provides boundaries, but they can also set limitations. There is nothing wrong with either approach, as long as you think about what you want from the learning process first.
- There are lots of ways to make transient art frames – here are a few of my favorites:
- Bind four twigs or sticks together with string or masking tape to make a natural rectangle frame.
- Use a piece of card and place a picture mount over the top so that you have a space to create in the middle.
- Use pipe cleaners twisted together in a shape to make an interesting asymmetrical frame.
- Collect old picture frames. Charity shops are great for this. Remove the glass and any sharp nails or parts first.
- Large scale outdoor frames- use four fence posts or planks to create a large outdoor frame for transient group artwork.
- Roll out a sheet of wallpaper and let the children create all over it.
- Sometimes, it’s good not to have a boundary to your pictures so using a field or open space can work too.
- Don’t forget that transient art doesn’t have to just be two-dimensional. You can also make 3D creations.
Ideas for Transient Art Activities
Scavenger hunt
I love to start this activity by showing the children some Andy Goldsworthy’s creations from the forest, so that they understand what beautiful patterns and creations can be made, simply from nature.
Try to pick a sunny day and explain that you are going to collect as many materials as you can to make your own natural creations. Provide different baskets, boxes or bags and scour the outdoor or forest area for natural objects such as the ones in the list above.
When everyone is happy with the resources collected, provide each individual child with a piece of card and ask them to start creating a nature picture. Don’t put too much emphasis on the finished product. The process of sorting, matching, deciding on colors, shapes and patterns will provide plenty of learning.
Dandelion sun
I usually prefer children to make their own transient art creations, but on one particular day in school, our field was completely covered in dandelion flowers and it was too good an opportunity to miss. We collected as many dandelion heads as we could and put them in a huge pile.
I made a large frame on the field by placing four planks of wood in a square shape and then asked the children to make a picture in the frame using the dandelions. They quickly decided to make the sun. Working together, they placed all the dandelions in a bright yellow circle with rays shooting out. There were a few flowers left over, so they also decided to make a yellow crescent moon.
Color match
This is a lovely activity to do if you have access to a forest site or a local park or woodland.
You will need a color chart to start. Depending on the age of the children, you could use the color charts that you get in a paint shop. For younger children, I prefer to spread out 5 / 6 pieces of colored cards in brown, green, yellow, red, and purple.
Ask the children to search around and find as many items as they can to match the color of the cards. They should place their object on the matching-colored card before going to look for their next piece of treasure.
A twig or acorn would be placed on the brown card, a leaf may go on the red card (especially in Autumn), and a dandelion on the yellow card.
When the search is over, talk about all the different objects they have collected. Did they expect to find so many colors? Provide a piece of card for each individual child and ask them to make a picture using their favorite objects. Take a photograph of their creations, before returning the natural objects to the forest floor, park or field.
Concentric circles
This activity is a good starting point for children who are not naturally creative. It’s a good way to get them involved. Before you start this activity, look at pictures of snails, especially at the pattern on a snail’s shell. Trace your finger from the center round and round, noticing how the concentric circles get bigger and bigger each time you go around.
Place a pebble in the middle of your frame or your workspace. Gradually add the loose parts in ever-increasing circles around the pebble. You could start with small seeds, add acorns or pine cones…whatever you like, just keep going around and making the circles bigger. Remember to take a photograph of your patterns.
Patterns
Patterns are everywhere in nature, so spend a little time looking at the different patterns all around you before you start this activity. Look at the patterns in different kinds of leaves, in feathers, in flowers, on a snail shell or a butterfly wing. Talk about symmetry – how the patterns are repeated exactly – a bit like a mirror.
Using simple frames, ask the children to make a transient pattern using any materials they like. As they work, remind them of the things they noticed in nature.
Again, the finished product is less important than going through the process.
Learn more about Transient Art
Transient art is a growing movement and more resources are added to the web all the time. As a reminder, check out our posts on loose parts play. And here is another good article to learn a bit more about transient art.
As always, have fun!

